Get Professional-Looking Wedding Photos Without Hiring a Pro Photographer
10 Ways to Get Professional-Looking Wedding Photos Without Hiring a Pro Photographer
Want stunning wedding photos without the hefty price tag? Here's how you can achieve professional-looking results without hiring a photographer:
- Ask a Skilled Friend or Family Member: Find someone with photography experience and provide them with a shot list.
- Crowdsource Photos with ImageShout: Guests can upload photos to a shared album for $75-$150.
- Set Up a DIY Photo Booth: Use a tripod, backdrop, and props for fun, candid shots.
- Use Disposable Cameras: Hand them out to guests for nostalgic, candid moments.
- Create a Wedding Hashtag: Collect smartphone photos via social media.
- Hire Photography Students: Affordable, fresh talent with professional equipment.
- Hire a Pro for Key Moments Only: Focus on capturing the ceremony and important highlights.
- Outsource Photo Editing: Enhance your photos using affordable editing services.
- Leverage Smartphone Tools: Use advanced settings and accessories for high-quality shots.
- Prepare a Shot List: Ensure all key moments are captured by friends or guests.
Quick Tip: Combine multiple methods, like hiring a student for the ceremony and crowdsourcing photos from guests, to maximize both quality and savings.
How to Plan a Wedding on a Budget: 5 Tips
1. Use a Skilled Friend or Family Member
Asking a friend or family member with photography skills to capture your wedding can cut costs and add a personal touch to your photos. Look for someone with proven experience - check their portfolio, social media, or past event photos. They should be comfortable using reliable equipment like a DSLR or a high-quality smartphone, along with essentials like a tripod.
Before the big day, share your vision and provide a detailed shot list. Let them visit the venue in advance to get a feel for the lighting and layout. This preparation helps them understand your preferences and prepares them for any challenges. Be sure to set clear expectations, give them guidance, and schedule breaks for them during the event.
Even though you're opting out of hiring a professional, show your gratitude with a meaningful gift or a heartfelt mention during your speech. This approach not only saves money but can also result in deeply personal and memorable photos of your celebration.
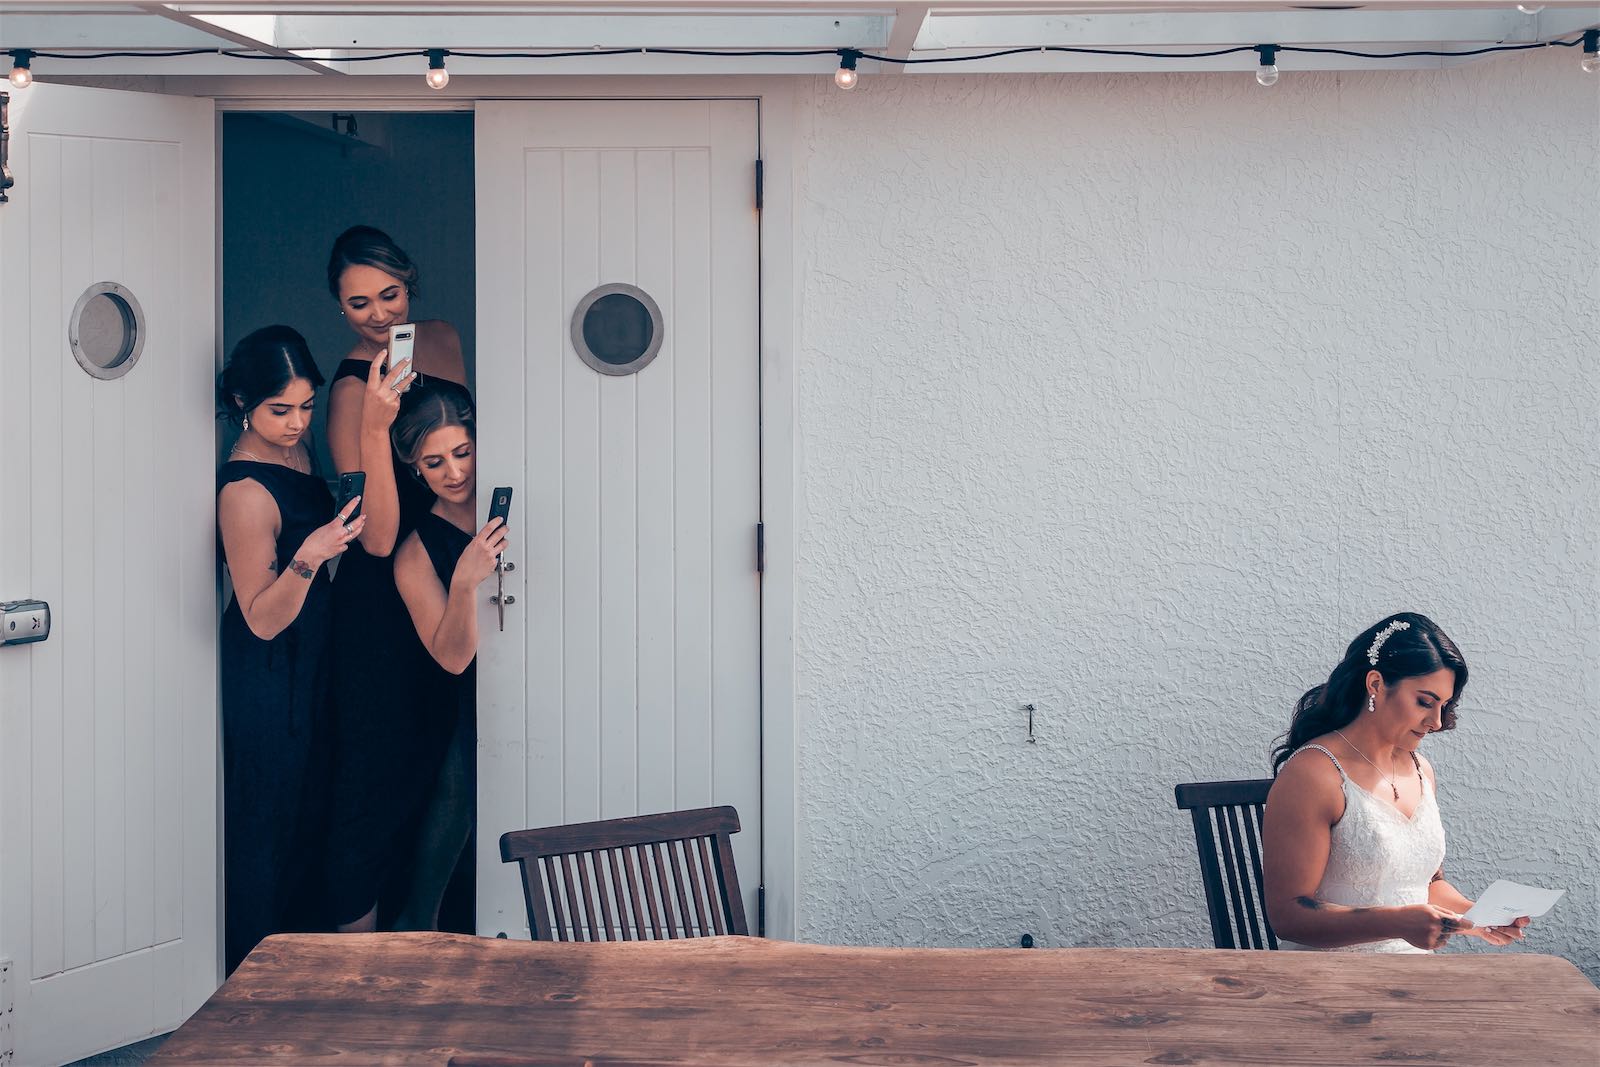
2. Use ImageShout for Crowdsourced Photos
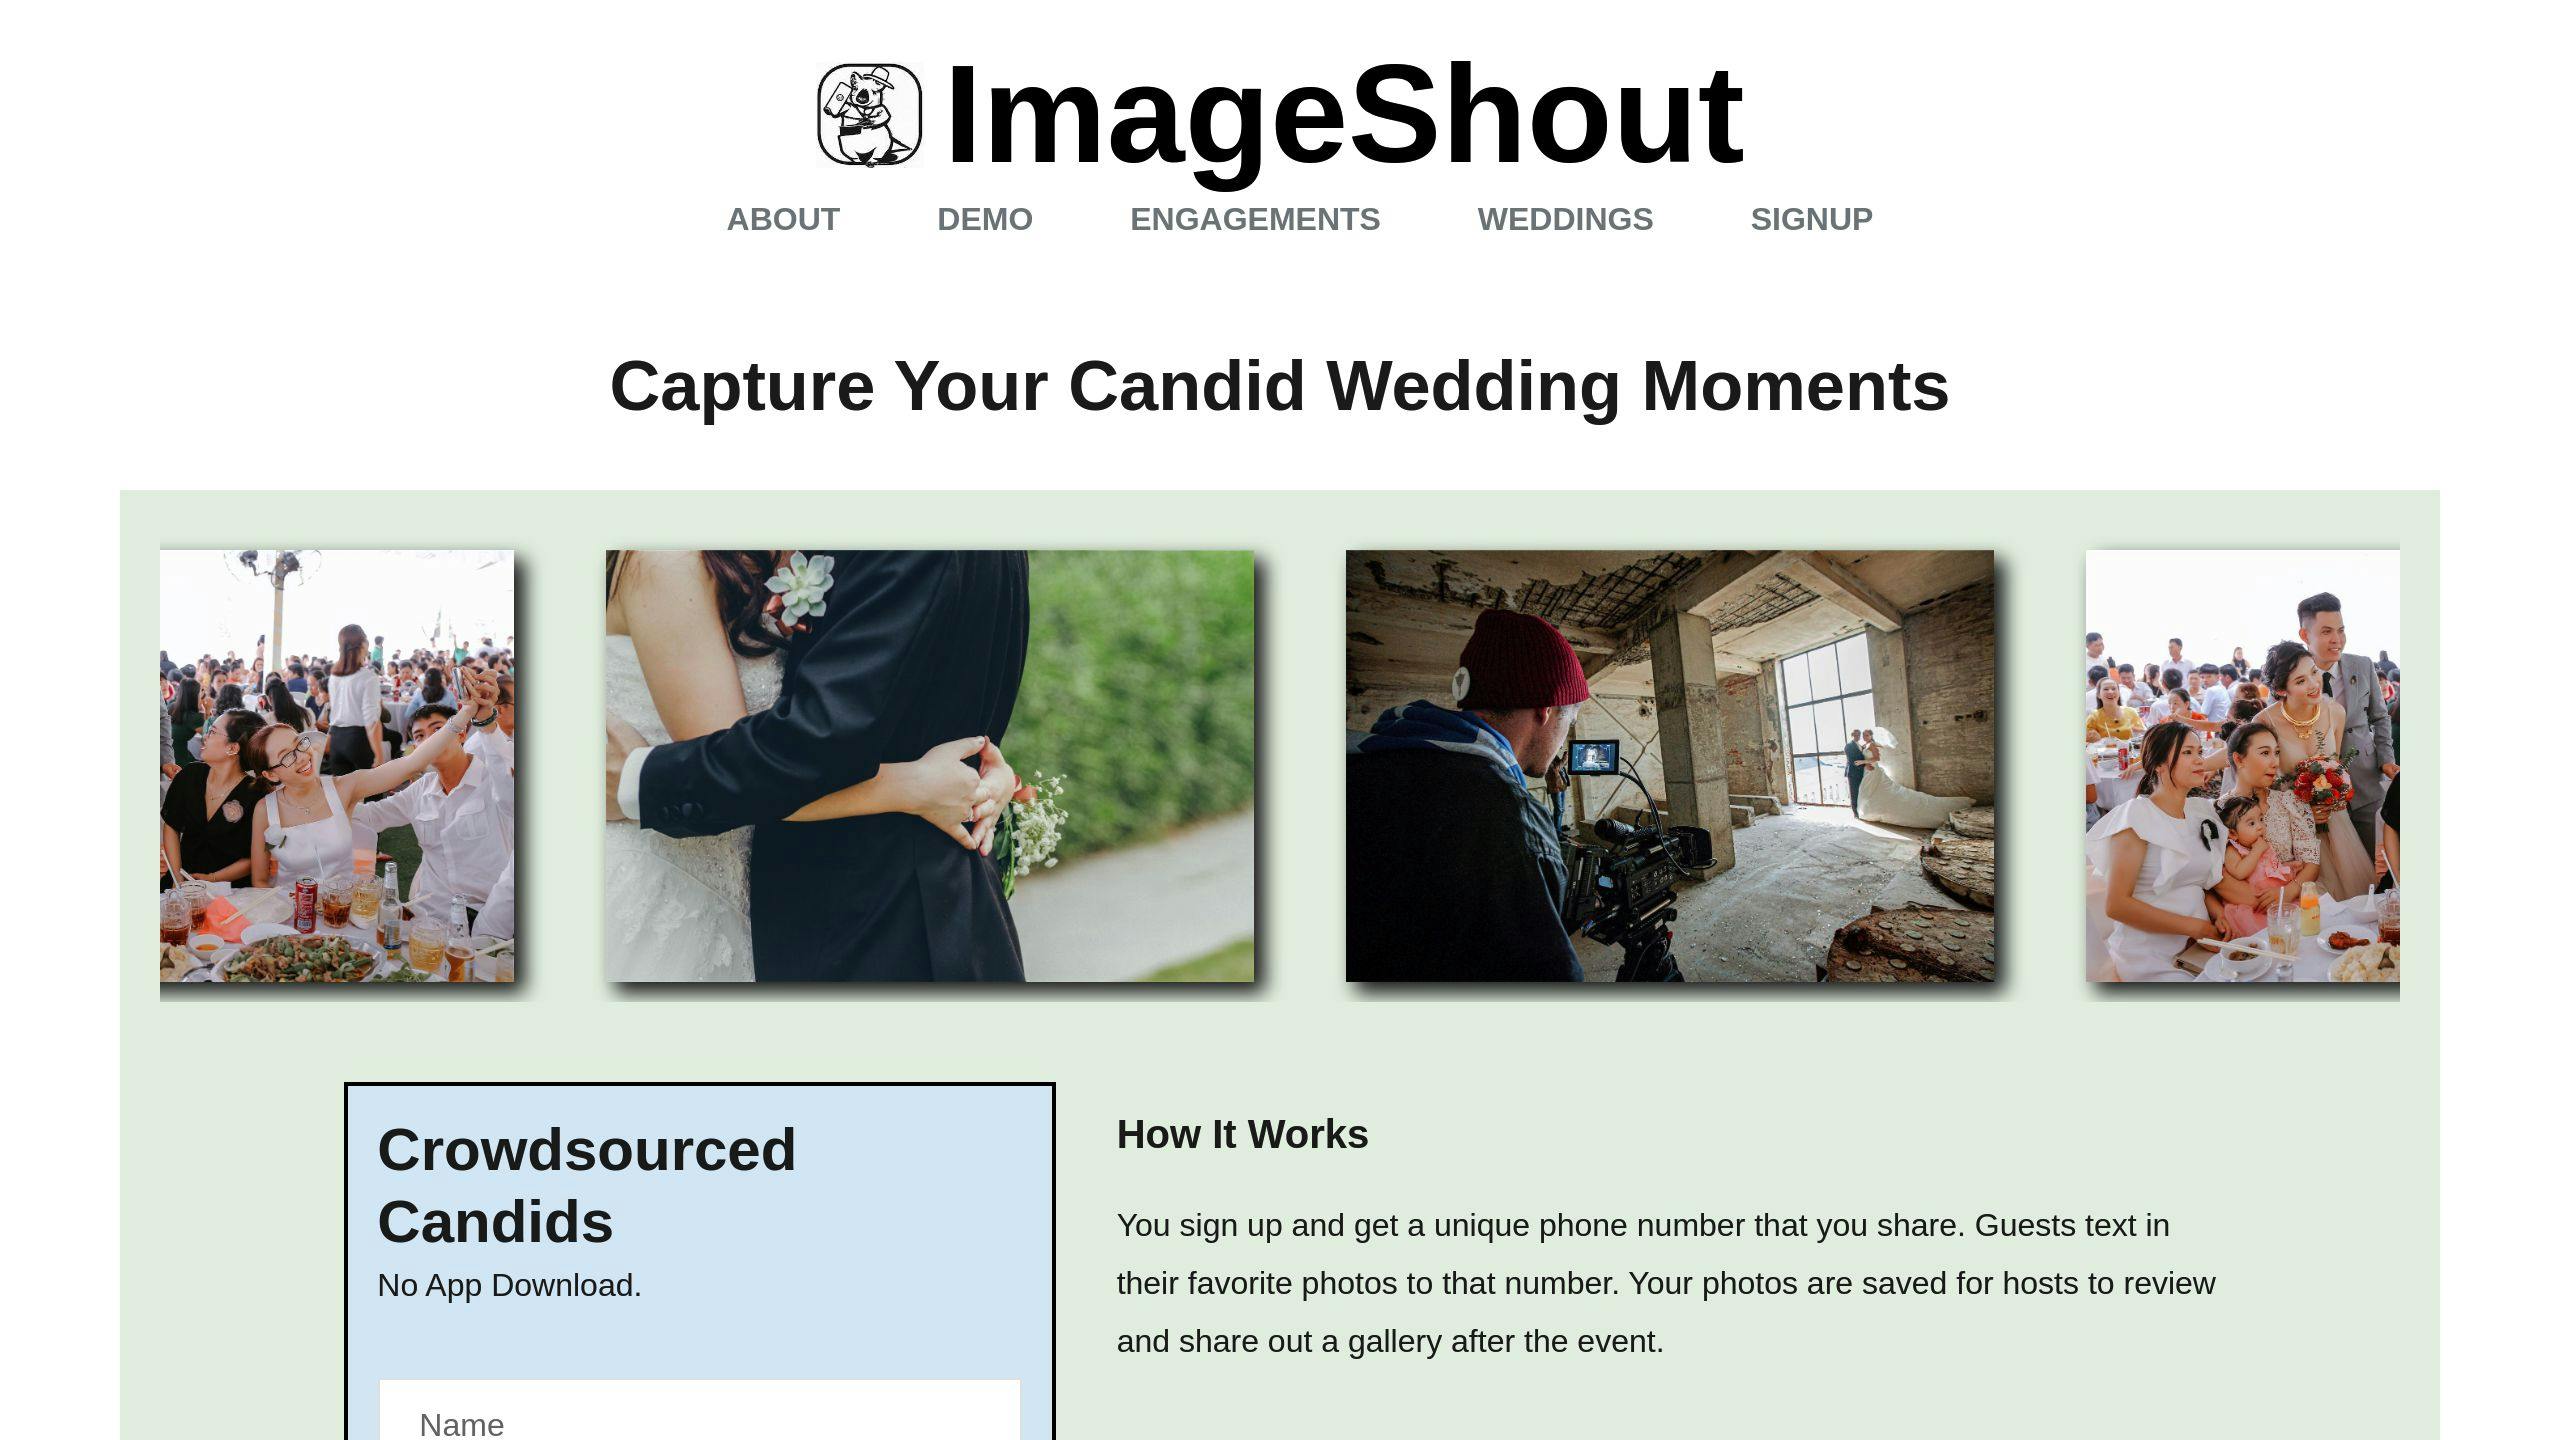
ImageShout is a simple way to gather photos from your event without breaking the bank. For $75 (Single Party plan) or $150 (Wedding Journey plan), guests can upload their photos to a shared digital album using a QR code or by texting. This setup makes it easy to save candid moments while involving your guests in the process.
Here’s how it works: Create an account, generate a QR code, and display it prominently at your venue - think entryways, tables, or even in the event program. Guests don’t need to download any apps. They can simply text their photos to a dedicated number, keeping the process hassle-free for everyone.
To maximize participation, share some photography tips with your guests before the event. Place QR codes in spots where they’ll be noticed, like near the bar or buffet, and have your DJ or MC remind everyone to share their snaps throughout the celebration.
The Wedding Journey plan ($150) is ideal for larger events or multiple wedding-related gatherings. It supports up to 600 photos and gives you access to your album for 3 years. This means you’ll get a mix of posed shots and candid moments from different angles and occasions.
| Feature | Single Party ($75) | Wedding Journey ($150) |
|---|---|---|
| Photo Limit | 200 pictures | 600 pictures |
| Album Hosting | 3 years | 3 years |
| Number Access | 3 months | 18 months |
| Best For | Small weddings (<100 guests) | Multiple wedding events |
Looking for more ways to make your event fun? Set up a DIY photo booth for guests to enjoy while snapping memories.
3. Set Up a DIY Photo Booth
A DIY photo booth is an affordable way to snap fun, candid moments at your wedding. To pull it off, some planning and attention to detail go a long way.
Pick a well-lit spot at your venue with enough room for 3-4 people to pose comfortably. If you can, use natural light. For indoor setups, affordable LED lights ($50–100) work well. Keep the booth out of direct sunlight to avoid harsh shadows.
Choose a backdrop that matches your wedding vibe. Metallic curtains add glamour, macramé suits a boho theme, and floral walls work beautifully for garden weddings. Backdrop options generally cost between $30 and $100.
The camera setup is key. Use a smartphone or digital camera mounted on a sturdy tripod ($25–40) at chest height. Add a remote shutter button ($15–20) so guests can snap photos on their own, avoiding shaky shots.
| Essential Components | Cost Range | Purpose |
|---|---|---|
| Backdrop | $30–100 | Creates the theme and setting |
| Lighting Kit | $50–100 | Keeps photos bright and clear |
| Tripod | $25–40 | Keeps the camera steady |
| Props | $40–80 | Adds personality and fun |
| Remote Shutter | $15–20 | Allows easy self-service |
Add a prop station with fun items like hats, signs, or glasses. Include simple instructions for using the camera so guests can easily join in. This setup blends perfectly with a crowdsourced photography approach, letting guests help capture the day.
Before the big day, test everything to ensure it works smoothly. Ask a friend to check on the booth during the reception to keep things running.
For an extra touch, hand out disposable cameras so guests can capture moments from their own perspective.
4. Give Guests Disposable Cameras
Disposable cameras are a fun way to let your guests capture candid wedding moments from their own perspective. They bring a nostalgic vibe and are easy on the wallet. You can hand out one camera per table or for every 6–8 guests, with prices ranging from $5 to $20 per camera.
For the best results, go for reliable options like Fujifilm QuickSnap Flash 400 or Kodak FunSaver, which perform well in both indoor and outdoor settings. To make sure you get great photos and everyone gets involved, consider these tips:
- Add a simple instruction card with basic photography tips.
- Assign someone to collect the cameras before the event ends.
- Label each camera with a table number to keep things organized.
Camera Distribution Costs
| Strategy | Estimated Cost |
|---|---|
| One per table (10 tables) | $50–$200 |
| Strategic placement (15–20 cameras) | $75–$400 |
| Individual favors (50+ cameras) | $250–$1,000 |
When it’s time to develop the film, you can head to a local drugstore for $5–$10 per roll or use professional labs like Mpix, which charge $12–$18 per roll for higher-quality results. These cameras add a personal touch to your wedding, complementing professional photography and giving you a variety of memories to look back on.
And if you want even more moments captured, encourage guests to share their photos in real time using a custom wedding hashtag on social media.
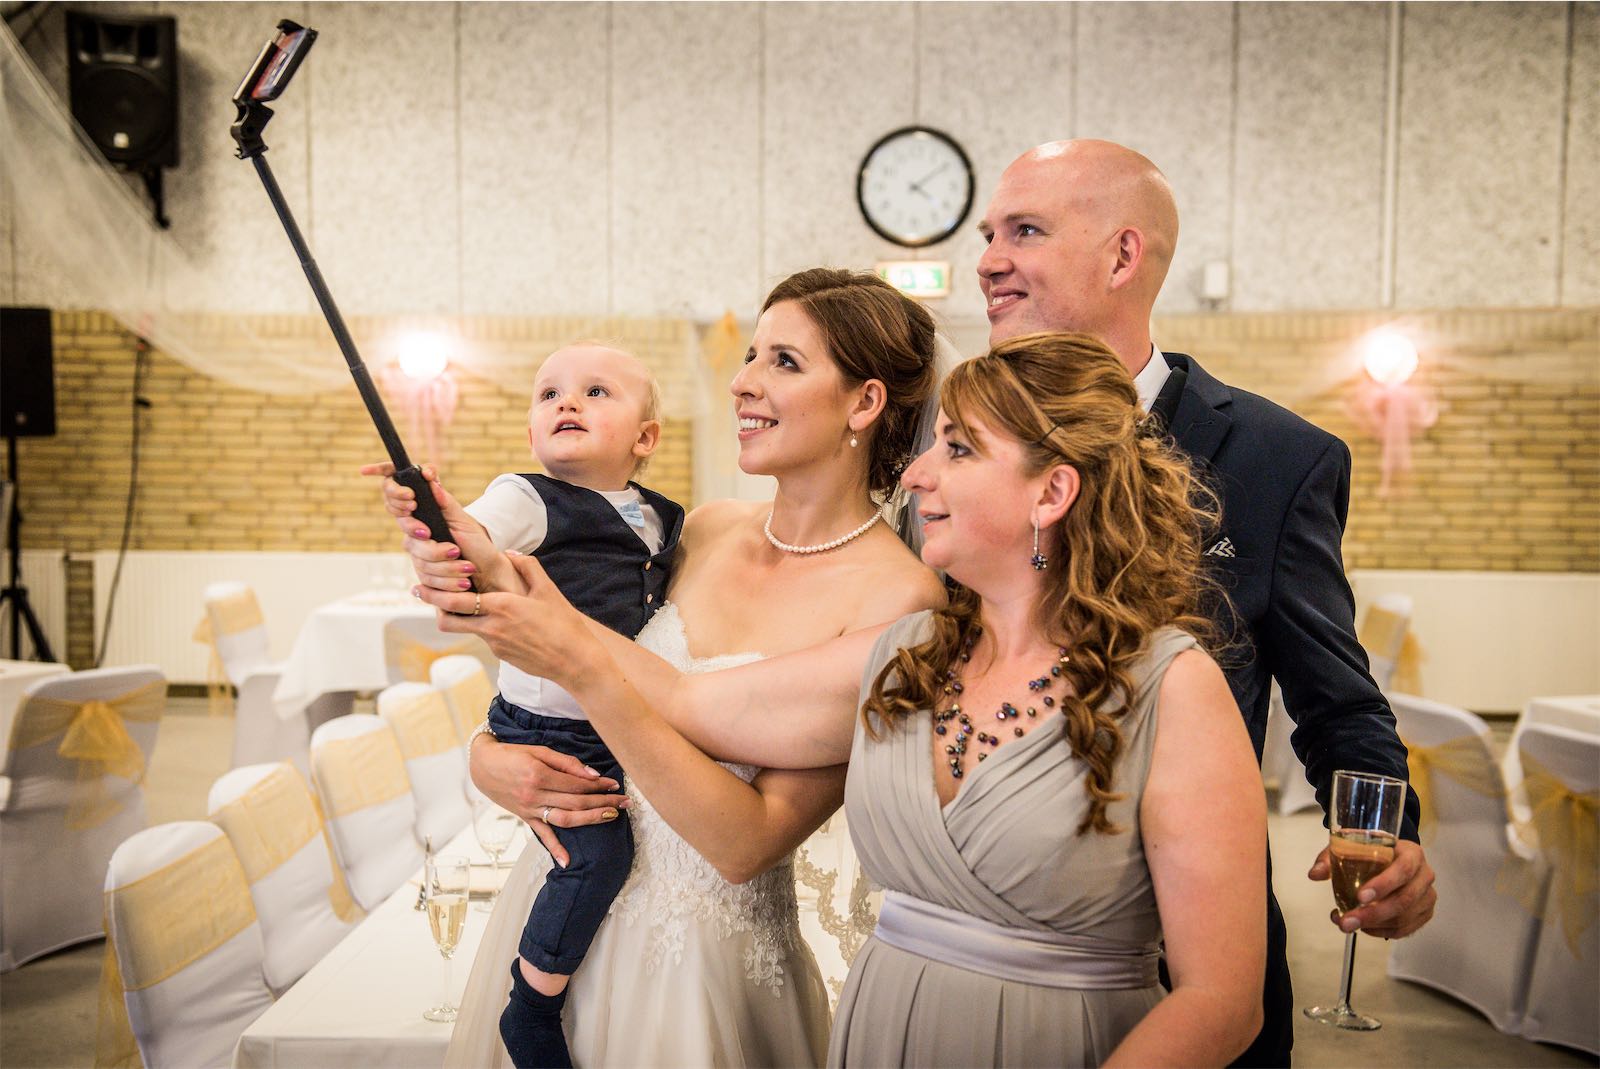
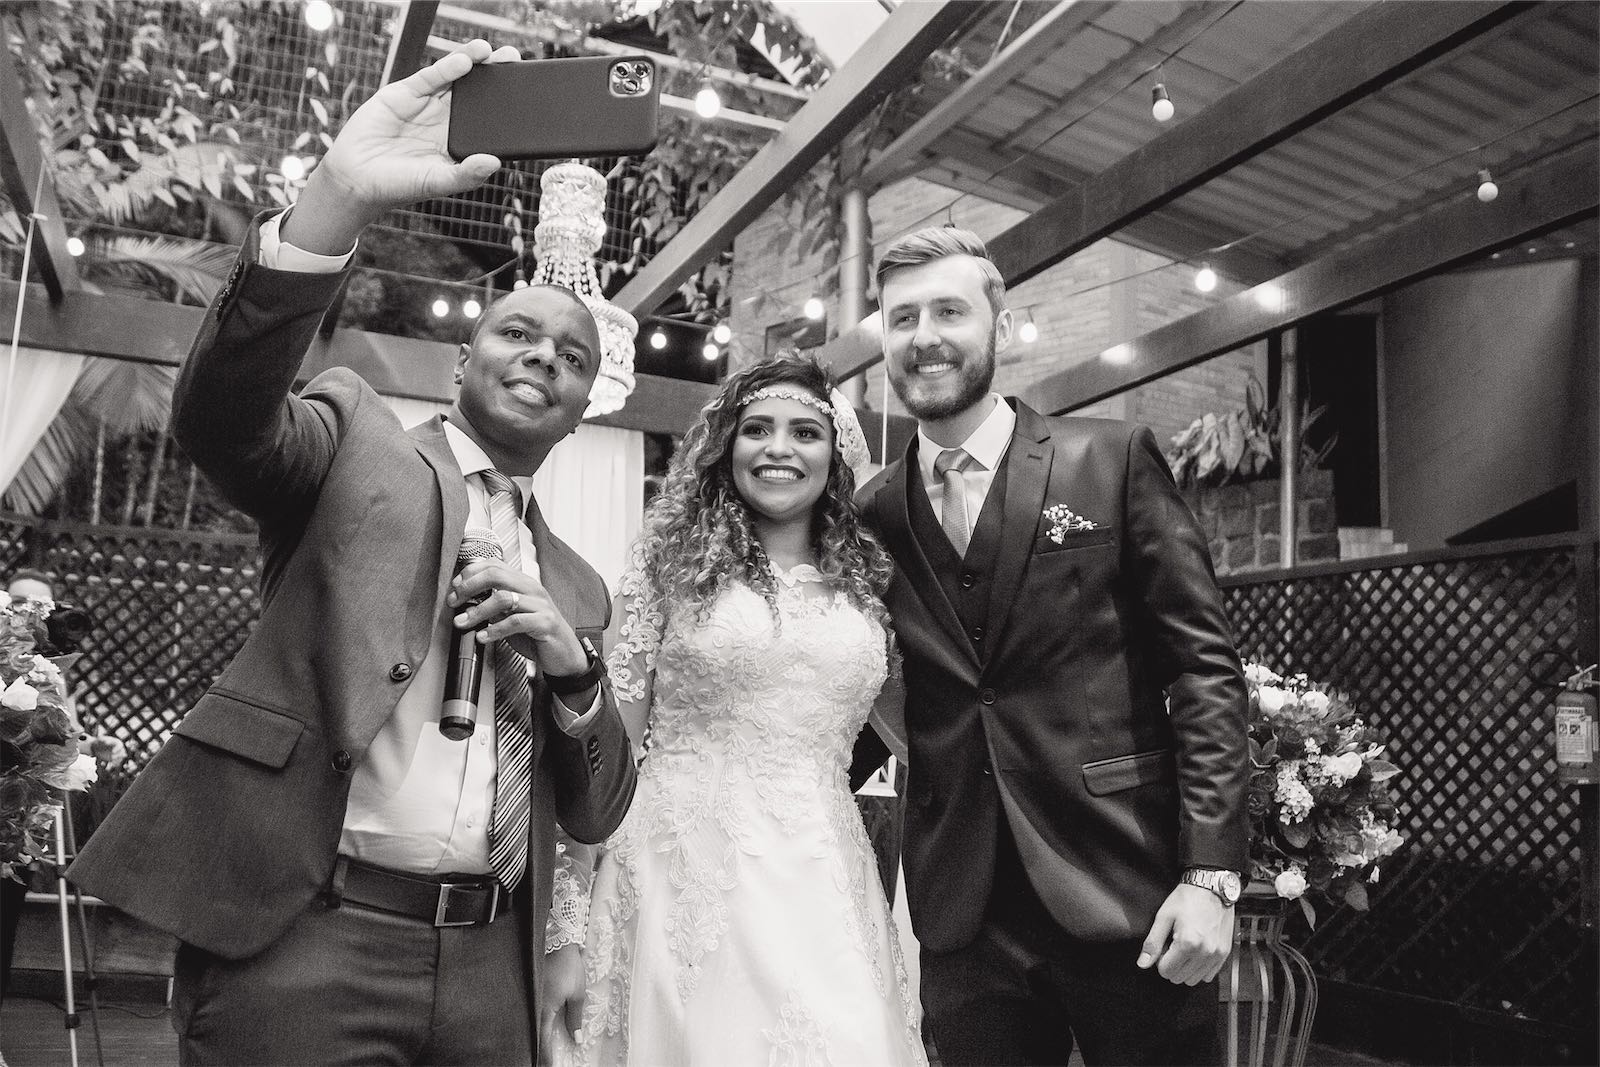
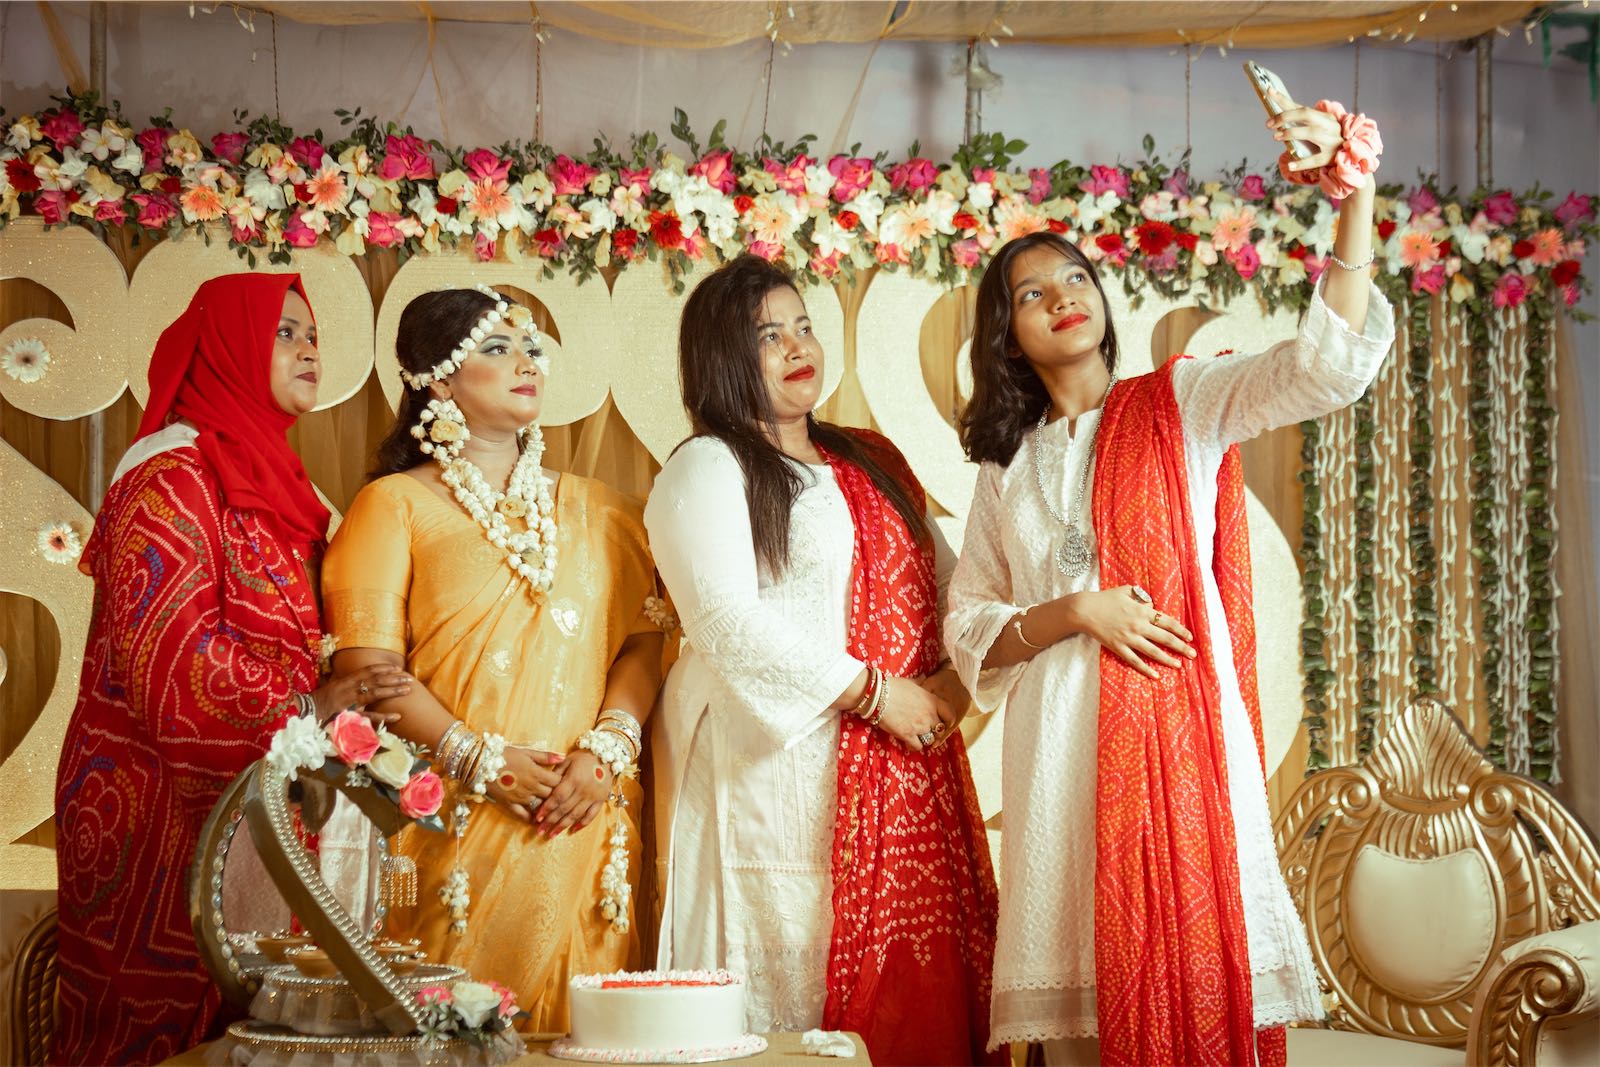
5. Use a Wedding Hashtag on Social Media
A personalized wedding hashtag is a great way to gather photos from your guests' smartphones. With the incredible cameras on modern phones, you’ll get plenty of candid shots that capture the essence of your day.
Try creating hashtags like #SmithSayIDo2025 or #JaneAndJohn2025. Keep it simple, short, and easy to spell so guests can remember it and use it effortlessly.
Make sure your hashtag is visible at the venue by including it on:
- Welcome signs and seating charts
- Table centerpieces
- Photo booth backdrops
- Bar and dance floor areas
For a more organized approach, platforms like Wedibox allow guests to upload high-resolution photos directly to a private gallery. Unlike social media, which often compresses images, Wedibox preserves the original quality using a QR code system. This adds a layer of convenience to the traditional hashtag method.
Tips for Better Guest Photos
Encourage guests to follow these simple tips for higher-quality shots:
| Photography Tips for Guests | Why It Matters |
|---|---|
| Clean your phone camera lens | Prevents blurry or hazy photos |
| Use natural light when possible | Improves lighting and overall photo quality |
You can also assign someone tech-savvy - like a bridesmaid or groomsman - to monitor the hashtag feed. They can ensure key moments are being captured and remind guests to use the hashtag during the event.
Finally, don’t forget to back up the hashtagged photos within a week of the wedding. Social media posts can get lost or deleted over time. Use Instagram's "Save Collection" feature or download the images directly to create a lasting archive of your wedding memories.
Pairing this approach with disposable cameras can give you a mix of digital and film-style photos. If you're looking for an affordable alternative, consider hiring photography students to document your big day.
6. Hire Photography Students
Want high-quality wedding photos without breaking the bank? Photography students can be a great option. They bring a mix of budding talent, professional equipment, and fresh ideas - all at a fraction of the cost of seasoned professionals.
Where to Find Them and What to Look For
Here’s where you can connect with student photographers and what to check before hiring:
| Where to Look | Key Qualities to Evaluate |
|---|---|
| Local art colleges | A portfolio that includes wedding or event photography |
| Photography schools | Skills in handling both natural and artificial lighting |
| University photography programs | Familiarity with editing tools like Photoshop or Lightroom |
| Photography meetups | Ownership of basic professional gear |
Key Skills to Assess
Before hiring, make sure the student photographer has solid abilities in these areas:
- Framing and composition
- Managing lighting
- Portrait and group photography
- Coordination for group shots
- Basic photo editing
Tips for a Smooth Experience
-
Set Clear Expectations
Draft a detailed agreement that outlines the deliverables, timeline, and payment. Student photographers often charge 30–50% of what professionals do, making it a budget-friendly choice. -
Prepare a Shot List
Work with the photographer to create a shot list based on their experience. Visit the venue together to plan key shots and review lighting conditions. -
Have a Backup Plan
Consider hiring a secondary photographer to ensure everything is covered and to add variety to your photo collection.
Additional Advice
To keep things organized on the big day, assign a family member or friend to coordinate with the student photographer. This person can help organize group shots and ensure no special moments are missed, all without disrupting the celebration.
Also, confirm that the photographer has essential gear, including:
- A full-frame camera
- A variety of lenses for different scenarios
- External flash equipment
- Backup batteries and memory cards
While the student focuses on formal shots, encourage guests to use their smartphones to capture candid, behind-the-scenes moments. These personal touches can add charm to your wedding memories.
sbb-itb-bded652
7. Hire a Pro for Key Moments Only
Want stunning photos of your wedding's most important moments without paying for a full day of coverage? Hiring a professional photographer for just the highlights of your celebration can be a smart way to save money. Combine this with guest photos or DIY setups to round out your wedding album.
Focus your budget on the big moments - like the ceremony, first dance, family portraits, and traditions like the cake cutting. Many photographers offer hourly rates, so booking them for 2-4 hours can cut costs by 30-50% compared to all-day packages.
Making It Work
| Planning Element | Strategy |
|---|---|
| Timing & Coordination | Group key moments together and assign someone to manage group photos |
| Shot List | Create a detailed list of must-have photos |
| Integration | Let the photographer know about guest photo plans or a photo booth |
Tips for a Smooth Experience
To make the most of limited coverage, share a detailed timeline with your wedding party so everyone is ready when the photographer is. Here’s how to ensure success:
- Communicate your must-have shots clearly ahead of time
- Confirm deliverables and ask about add-on options
- Choose a photographer with experience in short-coverage events
8. Outsource Photo Editing
Hiring photo editing services can transform your wedding photos from ordinary to polished and professional. If you’ve opted out of hiring a professional photographer, investing in skilled editing is a smart way to elevate your images without breaking the bank.
Popular Editing Services and Platforms
| Platform | Ideal For | Starting Price |
|---|---|---|
| Upwork | Custom projects, direct communication | $20-35/hour |
| Fiverr | Basic edits, fast delivery | $5-15/photo |
| Adobe Creative Services | Advanced retouching and editing tools | $20.99/month |
What to Ask Your Editor
Photo editors can handle a range of tasks, including:
- Basic adjustments: Fixing color, exposure, and contrast issues.
- Advanced retouching: Smoothing skin, removing distractions, and cleaning up backgrounds.
- Artistic enhancements: Adding filters or creating a cohesive style for your collection.
Tips for Better Results
- Share clear style preferences and provide sample photos as references.
- Start with a small batch of images to test the editor’s skills before committing to the entire set.
Pro Tip: Keep costs down by focusing professional editing on 20-30 key photos, like ceremony highlights and couple portraits.
Ensuring Quality
To make sure you’re happy with the final results:
- Check the editor’s portfolio to evaluate their style and expertise.
- Request a sample edit to gauge their ability to meet your expectations.
- Provide constructive feedback and confirm details like turnaround time and revision options upfront.
Platforms like Upwork and Fiverr are budget-friendly, with prices starting at just $5 per photo. For those who prefer a DIY approach, Adobe Lightroom offers professional tools for $20.99/month, making it easy to tweak photos with precision.
Once your photos are professionally edited, you can add final touches using advanced smartphone editing apps for a polished finish.
9. Use Smartphone Photography Tools
Modern smartphones come packed with features that can produce stunning wedding photos. With the right approach, you can achieve results that rival professional photography.
Key Camera Settings to Know
Smartphones today include features like Portrait Mode, Night Mode, HDR, and Manual Focus. These tools can significantly improve photo quality, whether you're working with tricky lighting or aiming for artistic compositions.
Recommended Photography Apps
| App Name | Features | Ideal For |
|---|---|---|
| Adobe Lightroom | Editing tools and presets | Fine-tuning colors |
| PhotoDirector | Combines Lightroom and Photoshop | All-purpose editing |
| Capture One | Advanced color adjustments | High-end photo editing |
Must-Have Accessories
To elevate your smartphone photography, consider using these tools:
- Tripod: Keeps your shots steady, especially in low light.
- External Lenses: Adds versatility for wide-angle or macro shots.
- Remote Shutter: Helps capture moments without touching the phone.
Tips for Better Photos
- Use natural light whenever possible; avoid flash to prevent harsh shadows.
- Apply the rule of thirds to frame your subject and keep the background simple.
- Regularly back up your images to services like Google Photos or iCloud to keep them safe.
Avoid These Common Pitfalls
- Keep your lens clean to prevent blurry images.
- Adjust the exposure manually when shooting in backlit conditions.
- Don’t rely solely on auto mode - experiment with advanced settings for better control.
Once you’ve gotten comfortable with these techniques, creating a detailed shot list will help your helpers capture every important moment.
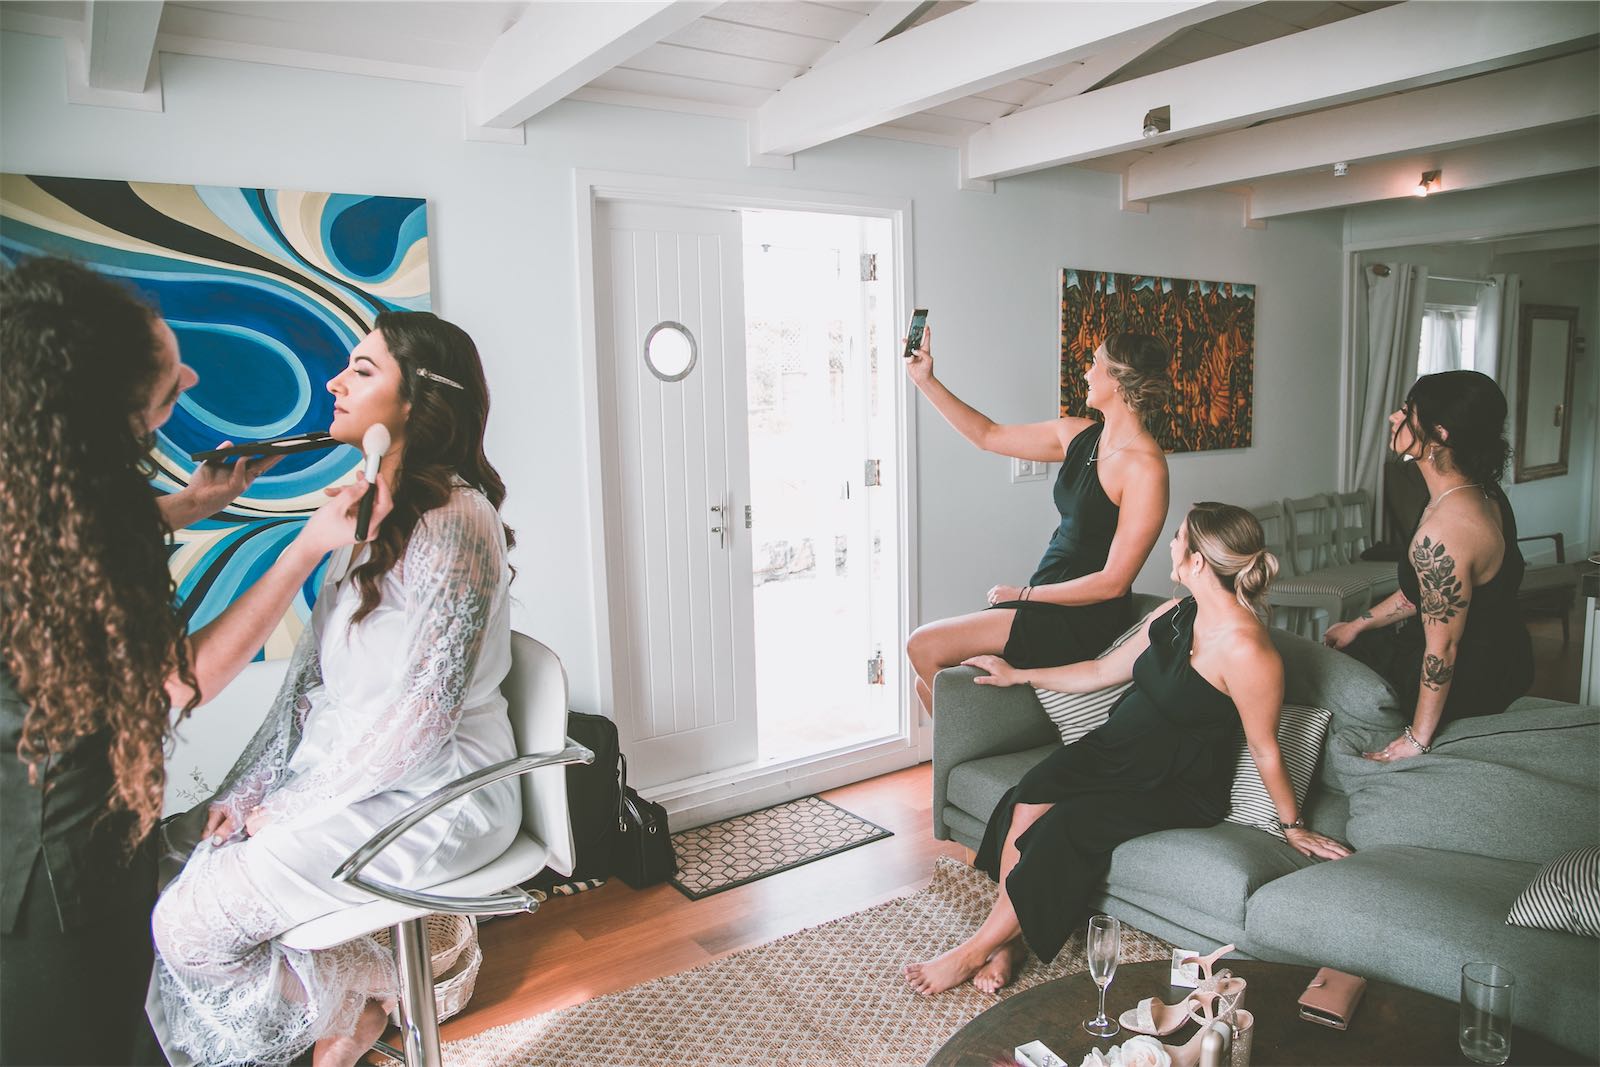
10. Share a Wedding Shot List
When asking friends, family, or guests to document your wedding, having a detailed shot list helps ensure no moment is missed. It acts as a guide for anyone capturing the day's highlights.
Key Shot Categories
| Time | Must-Have Shots | Key Details |
|---|---|---|
| Pre-ceremony | Getting ready, first look | Close-ups of details and emotions |
| Ceremony | Processional, vows, kiss | Key moments and audience reactions |
| Post-ceremony | Family portraits, couple shots | Group setups, scenic backdrops |
| Reception | First dance, speeches, cake cutting | Celebratory traditions and candid moments |
How to Organize and Share
Use a shared digital document to keep everything accessible and editable. Assign someone reliable to manage the shot list, ensuring coordination with venue staff for the best locations and timing. Here’s how to divide and share the list:
- Photographers: Provide a detailed version with specific instructions.
- Guests: Share a simplified version for casual captures.
- DIY Photo Booth: Highlight key moments for guests to snap.
- Wedding App or Website: Include basic photo tips and must-capture moments.
Managing Time Effectively
Structure your shot list by timing and priority. The table above gives a basic outline for planning key photo opportunities. Coordinate with your venue and schedule to identify the best moments, and work closely with your photo coordinator to keep everything running smoothly.
A well-thought-out shot list ensures every special moment is preserved, whether by a professional photographer or your guests.
Comparison Table (Optional)
To make choosing easier, this table breaks down the costs, perks, and challenges of different photography options.
| Method | Average Cost | Key Perks | Challenges | Ideal For |
|---|---|---|---|---|
| Skilled Friend/Family | $0-200 (equipment rental) | • Flexible to your needs • Budget-friendly |
• Quality can vary • May strain relationships |
Small weddings with photography-savvy friends or family |
| ImageShout/Crowdsourcing | $0-50 (platform fees) | • Diverse perspectives • Engages guests • Broad coverage |
• Relies on guest participation • Quality depends on involvement |
Large weddings with tech-savvy guests |
| DIY Photo Booth | $200-500 | • Fun and interactive • Instant photo prints |
• Requires setup and management | Receptions with space for a booth |
| Photography Students | $500-1,500 | • Fresh approach • Professional-grade equipment • Solid technical skills |
• Limited experience | Couples looking for affordable yet quality photos |
| Pro for Key Moments | $800-2,000 | • Expertly captured key shots • Professional knowledge • Efficient use of time |
• Limited overall coverage • Scheduling may be tricky |
Couples focused on capturing specific, important moments |
Cost-Saving Combinations
Looking to stretch your budget? Try these smart pairings:
- Hire a photography student for the ceremony ($500-800) and set up a DIY photo booth for the reception ($300). This gives you professional-level shots for critical moments and candid, fun photos for guests.
- Use ImageShout for guest photos and ask a skilled family member to handle portraits ($200 for equipment rental). This combo keeps costs low while covering all the bases.
Photo Quality Options
Want to boost photo quality? Check out these add-ons:
| Add-On | Cost Range | Benefit |
|---|---|---|
| Editing/Tools | $50-1,000 | Enhances photos with professional editing, apps, or extra lighting gear |
| Equipment Rental | $50-300 | Helps capture better photos in tough lighting or conditions |
Conclusion
By using approaches like DIY setups, crowdsourced photos, and smartphone tools, couples can create beautiful wedding photos without overspending. These options deliver quality results while keeping costs far lower than hiring a traditional professional photographer.
For instance, tools such as PhotoDirector's AI features can reduce noise and remove distractions, turning guest-taken photos into polished images [1]. Pairing a photography student for the ceremony with a DIY photo booth at the reception is another way to combine professional touches with candid, fun memories.
Editing services can also make a huge difference, transforming casual snapshots into cherished keepsakes. Couples who focus on capturing genuine moments, rather than aiming for perfectly staged shots, often achieve the most meaningful results. Whether it’s asking talented friends for help, setting up DIY booths, or using advanced editing tools, there are plenty of options to suit any budget and vision.
With careful planning and a mix of these strategies, you can create a wedding album that tells your story and reflects your celebration, all while keeping a professional finish.
FAQs
How to get good wedding photos without a photographer?
You can still get amazing wedding photos without hiring a professional photographer by planning ahead. Ask a friend or family member with a good eye for photography to take on the role. Share some basic photography tips with them beforehand, like framing and lighting techniques. Schedule important moments, like vows and first dances, during the "golden hour" for soft, flattering natural light. If your budget allows, consider hiring a photographer just for the ceremony and formal portraits, and use alternative methods, like guest photos, for the rest of the event. This way, you can save money while still capturing the most important memories [2].
How to take wedding photos with a phone?
Smartphones can produce stunning wedding photos if you know how to use them well. Use natural light whenever possible - place your subjects near windows or in shaded outdoor areas to avoid harsh shadows. Focus on details like the rings, flowers, or table settings, and use portrait or macro modes for crisp, professional-looking shots. Instead of trying to capture everything, focus on key moments and subjects to create a more meaningful collection of photos.