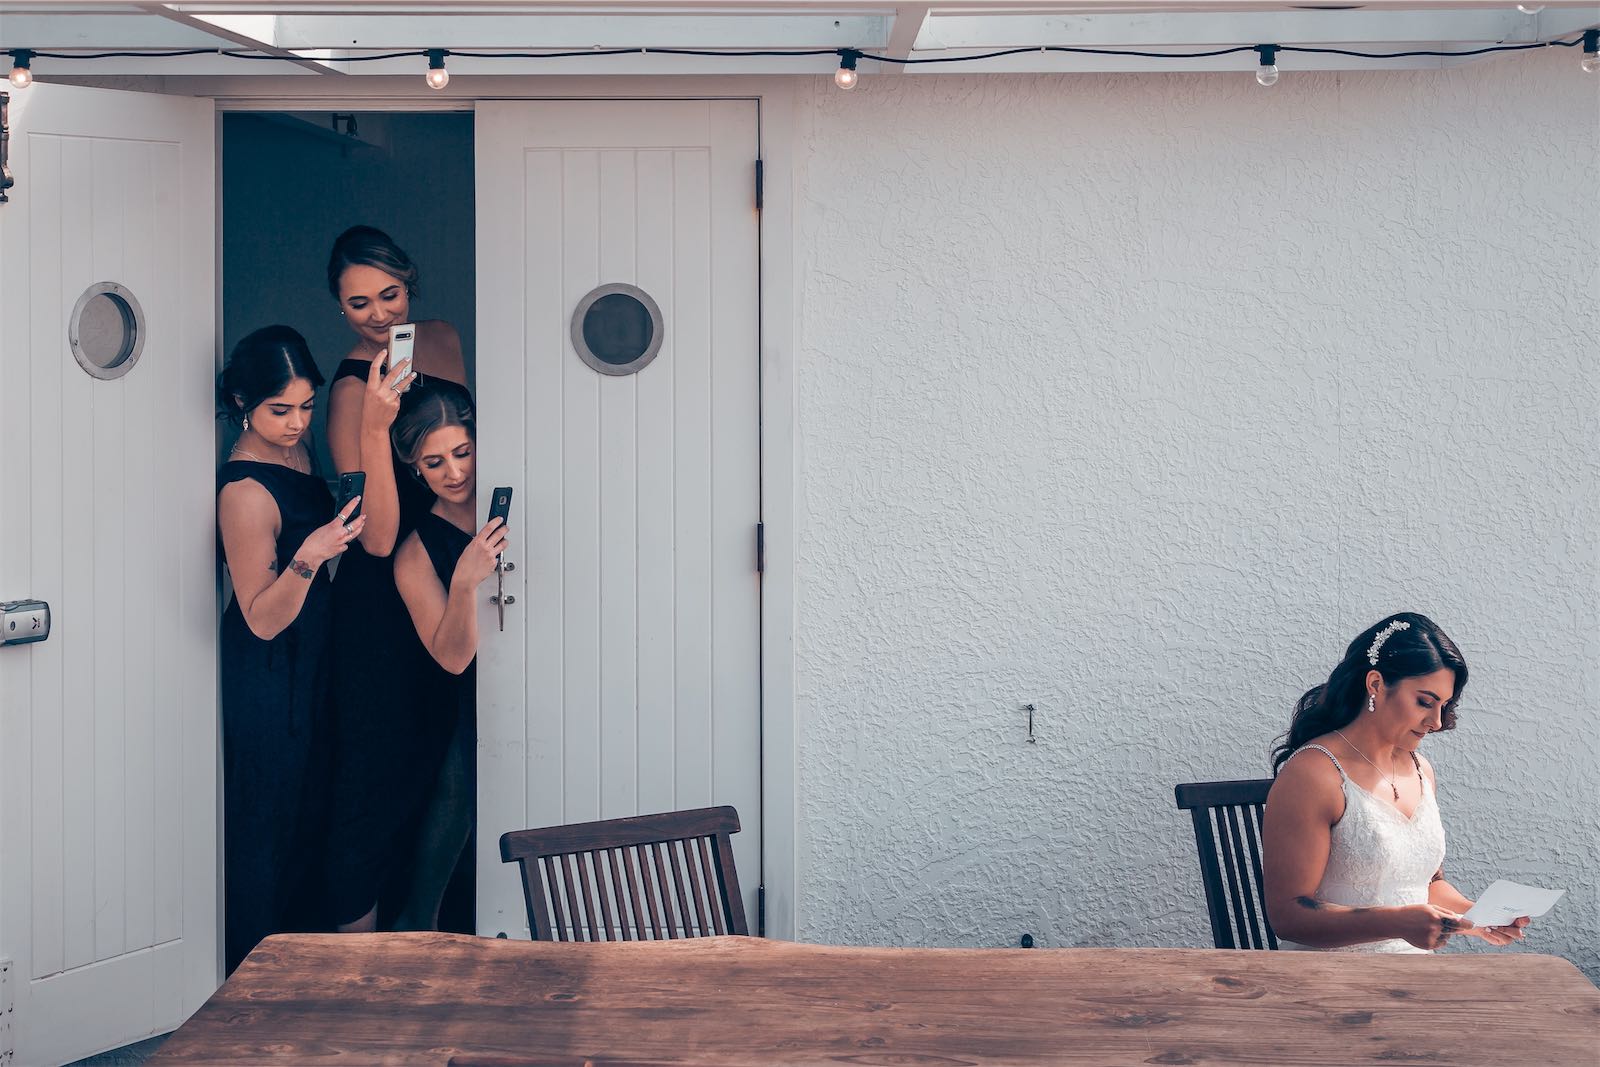
How to Create a Shared Wedding Photo Gallery: Complete Guide
Want to capture every moment of your big day? Here's how to set up a shared wedding photo gallery:
- Choose a photo-sharing platform (e.g. Google Photos, GUESTPIX, ImageShout)
- Set up your gallery with wedding details and privacy settings
- Share instructions with guests early and often
- Make sharing easy with QR codes, hashtags, or auto-sharing apps
- After the wedding, organize photos into categories
- Back up photos to external drives and cloud storage
- Create physical keepsakes like photo books or gallery walls
Key tips:
- Pick user-friendly platforms that don't require app downloads
- Put sharing info in invites, on your website, and at the venue
- The easier it is to share, the more photos you'll get
- Download high-res files and back up multiple ways
- Turn digital photos into physical mementos
Related video from YouTube
How to Set Up Your Gallery
Let's walk through setting up your shared wedding photo gallery. It's easier than you might think!
Pick Your Photo Service
First things first: choose a photo service that fits your needs. Here's what to look for:
-
Easy to use: Go for platforms that don't need app downloads. ImageShout lets guests text photos to a special number - perfect for your tech-shy relatives.
-
Lots of storage: You'll need space for all those memories. The Guest app usually gets 80 to 1,000 photos and videos per event.
-
Fair price: Compare costs. ImageShout's Single Party plan is $75 for under 100 guests. The Guest app charges $97 for unlimited uploads.
-
Useful features: Think about what you want. Need to filter photos? Want long-term storage? How about high-quality downloads?
Set Up Your Gallery
Got your service? Great! Now let's set it up:
1. Sign up: Create your account. Most services make this quick and easy.
2. Make it yours: Add your wedding details - date, title, and a welcome message. With GUESTPIX, you can set up your event page in just two minutes.
3. Get sharing info: Grab your unique link, QR code, or phone number for guests. ImageShout gives you a special phone number for photo uploads.
4. Test it out: Before the big day, upload a few photos to make sure everything works smoothly.
Keep Your Photos Safe
Your memories are precious. Here's how to protect them:
-
Control who sees what: Use privacy settings to decide who can view and add to your gallery.
-
Back up regularly: Don't just rely on the online gallery. Download your photos to an external hard drive often. Steven Dray Photography suggests using drives like the SanDisk Extreme Portable.
-
Use the cloud: For extra safety, upload your photos to a cloud service. This way, you can access your memories even if your computer crashes.
-
Make multiple copies: VA Photographer advises, "Purchase at least 2 external hard drives for backing up your photos." If one drive fails, you'll be glad you have a backup.
Getting Photos from Guests
Your wedding isn't just about pro shots. Guest photos can add a whole new layer of memories. Here's how to get those candid snaps.
Ways Guests Can Share Photos
You've got options:
1. QR Codes
Stick QR codes on tables or around the venue. Guests scan, upload, done. No app needed.
2. Photo-Sharing Apps
Apps like The Guest, Ceremony, and WedBox are built for this. The Guest app? $97 per event, but unlimited uploads.
3. Cloud Storage
Set up a shared Google Photos or Dropbox album. It's free, but might get messy.
4. Social Media Hashtags
Create a unique wedding hashtag. Free and fun, but watch out for privacy issues.
"The biggest thing is to include instructions early and remind guests", says Katelyn Wollet of Katelyn Wollet Photography.
Whatever you choose, make sure everyone knows how to use it.
Old-School Photo Collection
Want to go retro?
Disposable Cameras: Put them on tables. Guests snap away. Costs? $15-30 per camera, plus printing. Not exactly eco-friendly, though.
Instant Cameras: Think FujiFilm Instax Mini ($70-$95). Instant photos, but pricier per shot.
Want a mix of old and new? Try ImageShout. Guests text photos to a special number. No app needed. Their Single Party plan is $75 for weddings under 100 guests. You get 200 uploads and a 3-year online album.
Managing Your Photos
You've tied the knot, and now you're swimming in a sea of photos. Let's tackle how to wrangle all those memories.
Sort and Pick Your Best Photos
Sorting wedding photos can feel like a mammoth task. But with a game plan, you'll breeze through it:
-
Set up your folders: Create "Originals" and "Edits" folders. Keep your raw shots separate from your polished picks.
-
Go chronological: Inside those folders, make six sub-folders: Details, Getting Ready, Portraits, Ceremony, Reception, and Highlights. This timeline approach helps you catch all the key moments.
-
Use smart software: Try tools like Photo Mechanic to speed things up. It's great for quick uploads and easy tagging.
-
Be picky: Make a "Throw Out Pile" for photos that don't cut it. It's okay to be choosy - you want the cream of the crop.
-
Back it up: Steven Dray Photography says, "Purchase at least 2 external hard drives for backing up your photos." The SanDisk Extreme Portable is a solid choice.
Most weddings rack up about 1,000 photos. A good system now saves headaches later.
Make Photo Albums
Now that you've sorted your pics, it's album time:
-
Go digital: Use your photo-sharing platform to make themed albums. ImageShout makes it easy to group photos by different wedding moments.
-
Create a highlight reel: Make a special album for your absolute favorites. It's about capturing the heart of your day in a handful of shots.
-
Get guests involved: Ask guests to chip in their photos. Katelyn Wollet of Katelyn Wollet Photography says, "The biggest thing is to include instructions early and remind guests." Make it clear how they can add to your shared gallery.
-
Think privacy: Use privacy settings wisely when sharing. Not every photo needs to be public. Platforms like Cluster let you share in a secure group.
-
Go physical: Don't let your photos live only on screens. Think about making photo books or albums for a hands-on way to relive your big day.
sbb-itb-bded652
Get More Guest Photos
Want to boost your wedding memories? Here's how to get your guests snapping and sharing:
Tell Guests How to Share
Getting the word out is crucial. Here's the game plan:
1. Start early
Slip those photo-sharing instructions into your invites or pop them on your wedding website. Give folks time to get ready.
2. Keep reminding
Don't be shy about it. Katelyn Wollet, who runs Katelyn Wollet Photography, says it best:
"The biggest thing is to include instructions early and remind guests."
3. Use signs
Scatter some signs around your venue. Keep 'em clear and simple. Throw in a QR code to make it even easier.
4. Make an announcement
Get your DJ or coordinator to give a quick shout-out during the party. A little nudge can go a long way.
Make Photo Sharing Easy
The easier it is, the more photos you'll get. Try these:
1. Pick user-friendly platforms
Go for services that don't need app downloads. ImageShout, for example, lets guests text photos to a special number. Perfect for your tech-phobic uncle.
2. QR codes are your friend
Stick 'em on centerpieces or in the photo booth. Scan, upload, done.
3. Create a catchy hashtag
For the social media crowd, a unique wedding hashtag can be fun. Just watch those privacy settings.
4. Try auto-sharing apps
Apps like The Guest do the sharing automatically. No uploading or tagging needed. They say couples usually get between 80 and 1,000 photos and videos this way.
5. Offer a little prize
Maybe for the best guest photo? It'll get people excited and creative.
Waldo Photos chimes in:
"With WaldoWed, you can easily gather instant wedding photos from your guests via convenient QR code and text upload."
Save and Share Your Photos
Your wedding photos aren't just files - they're memories. Let's look at how to keep them safe and turn them into keepsakes you'll love.
Save and Back Up Photos
Don't risk losing your wedding photos. Here's how to keep them safe:
1. Download two versions
Get high-res files for printing and web-sized ones for social media.
2. Use external hard drives
Buy at least two external drives. It's a safety net if one fails. Many photographers like the SanDisk Extreme Portable.
3. Try cloud storage
Upload to a cloud service for extra protection. Google Drive is popular, but you might need more space. Look into Dropbox or iCloud too.
4. Don't forget the deadline
Online galleries don't last forever. ImageShout keeps yours for 3 years. Set a reminder to download your photos before time's up.
Michelle Poteet, a pro photographer, says:
"You can never be too careful with your wedding photos, and sometimes technology fails (I am crazy about backups)."
Make Photo Books and Displays
Turn those digital memories into something you can touch:
Create a photo book
Make a coffee table book of your big day. Sites like Vistaprint make it easy. It's great for reliving the memories or showing off to guests.
Build a gallery wall
Mix your wedding photos with other art on your wall. It's a cool way to tell your love story.
Try a digital frame
Load up a digital frame with your photos. Some smart TVs can even show them when you're not watching.
Make a shadow box
Put photos, your invitation, and other wedding bits in a shadow box. It's a nice daily reminder of your special day.
Get creative
Put your photos on stuff you use every day:
- Coffee mugs
- Coasters
- Fridge magnets
It's a fun way to keep your memories close.
Wrap-Up
Let's recap how to create a shared wedding photo gallery:
1. Pick your platform
Go for a user-friendly service. GUESTPIX offers a QR code solution for $47, no app needed. Or, set up a shared Google Drive or Dropbox folder if you're on a budget.
2. Set up your gallery
Customize it with your wedding details and privacy settings. Get your sharing link or QR code. With GUESTPIX, you can do this in just two minutes.
3. Tell everyone
Katelyn Wollet of Katelyn Wollet Photography says:
"The biggest thing is to include instructions early and remind guests."
Put photo-sharing info in your invites, on your wedding website, and at your venue.
4. Make it simple
Use QR codes, a catchy hashtag, or auto-sharing apps like The Guest. The easier it is, the more photos you'll get.
5. Organize your pics
After the big day, sort photos into categories like Details, Getting Ready, Ceremony, and Reception. Tools like Photo Mechanic can speed this up.
6. Back it up
Don't lose your memories. Download high-res files, use external drives, and try cloud storage. Michelle Poteet, a pro photographer, advises:
"You can never be too careful with your wedding photos, and sometimes technology fails (I am crazy about backups)."
7. Make it physical
Turn digital into physical. Create a photo book, build a gallery wall, or get creative with personalized items.
FAQs
What is the easiest way for wedding guests to share photos?
The easiest way for wedding guests to share photos is through a shared online album, like Google Photos or Dropbox. Here's why:
No new app needed. Most guests already use Google or Dropbox. Just create a shared album and send the link. It's quick, simple, and usually free.
Katelyn Wollet, founder of Katelyn Wollet Photography, says:
"The biggest thing is to include instructions early and remind guests."
To make it work even better:
Put the album link in your invitations or on your wedding website. Display the link or QR code at your venue. And get your wedding party to add a few photos during the event to get things rolling.
It's that simple. Your guests can easily share their snapshots, and you'll have a treasure trove of memories from different perspectives.
